
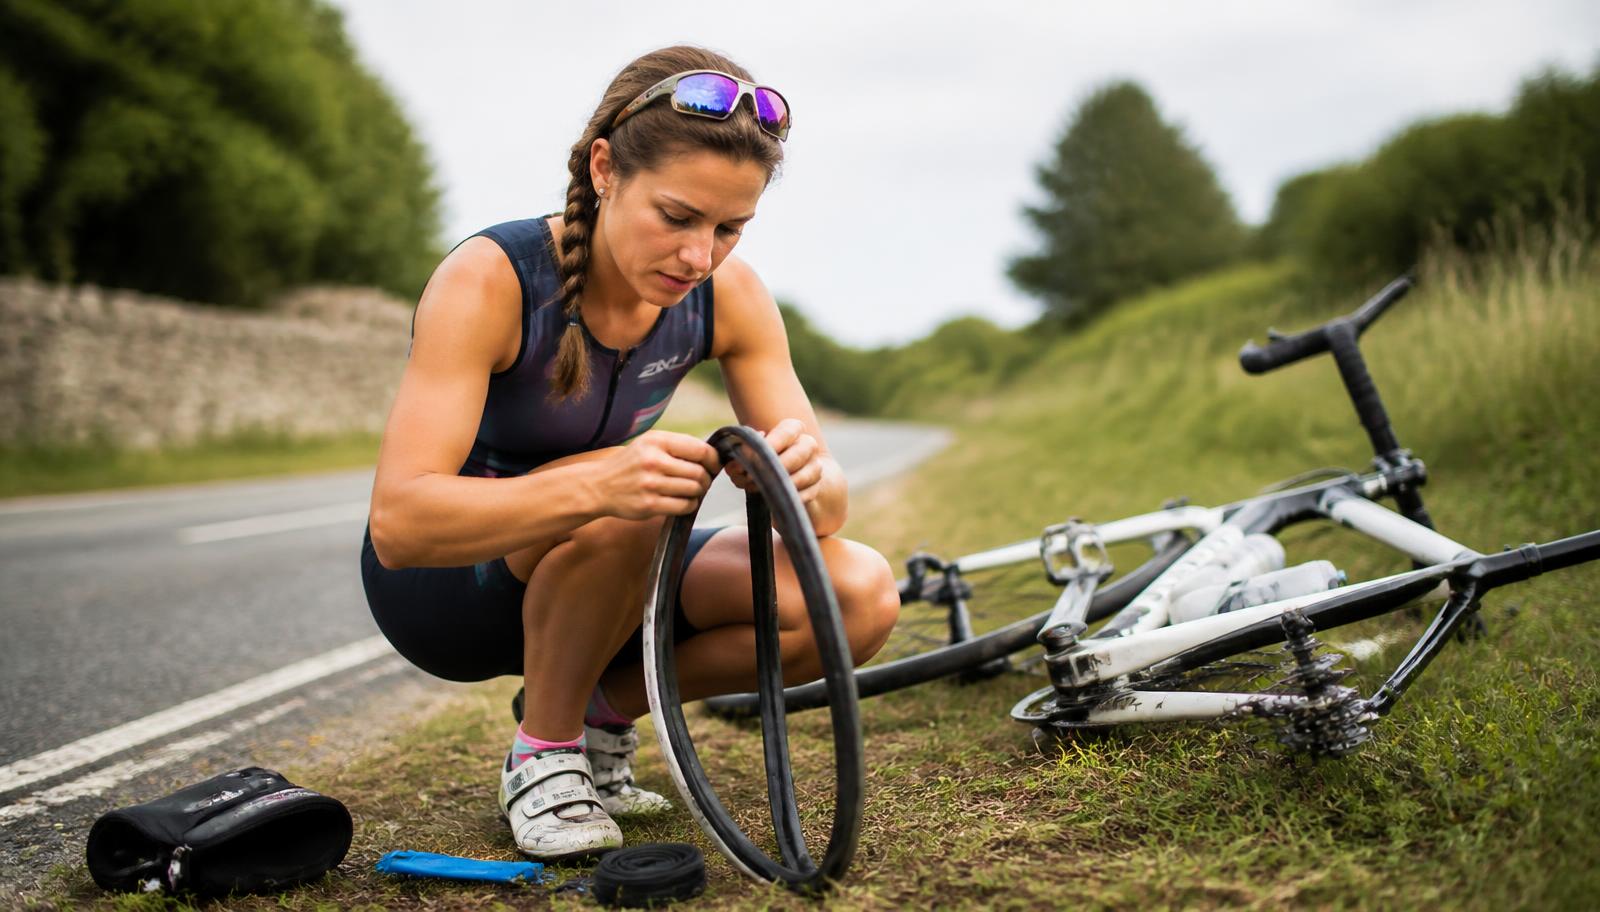
Roadside Repairs You Should Know
A puncture or dropped chain should not automatically mean the end of your ride.
A puncture or dropped chain should not automatically mean the end of a training ride or race. Every beginner triathlete should learn a few simple roadside repairs before race day so that a small mechanical problem does not become a major one.
Fixing a puncture
The most important skill is fixing a puncture. Practise this at home before you need to do it at the side of the road. Learn how to remove the wheel, take out the inner tube, check the tyre carefully for glass, thorns or sharp objects, fit a replacement tube and inflate it again.
You need to be careful with the last bit of tyre as the tube could be pinched, causing another puncture. A small amount of air in the tube before fitting can help with this.
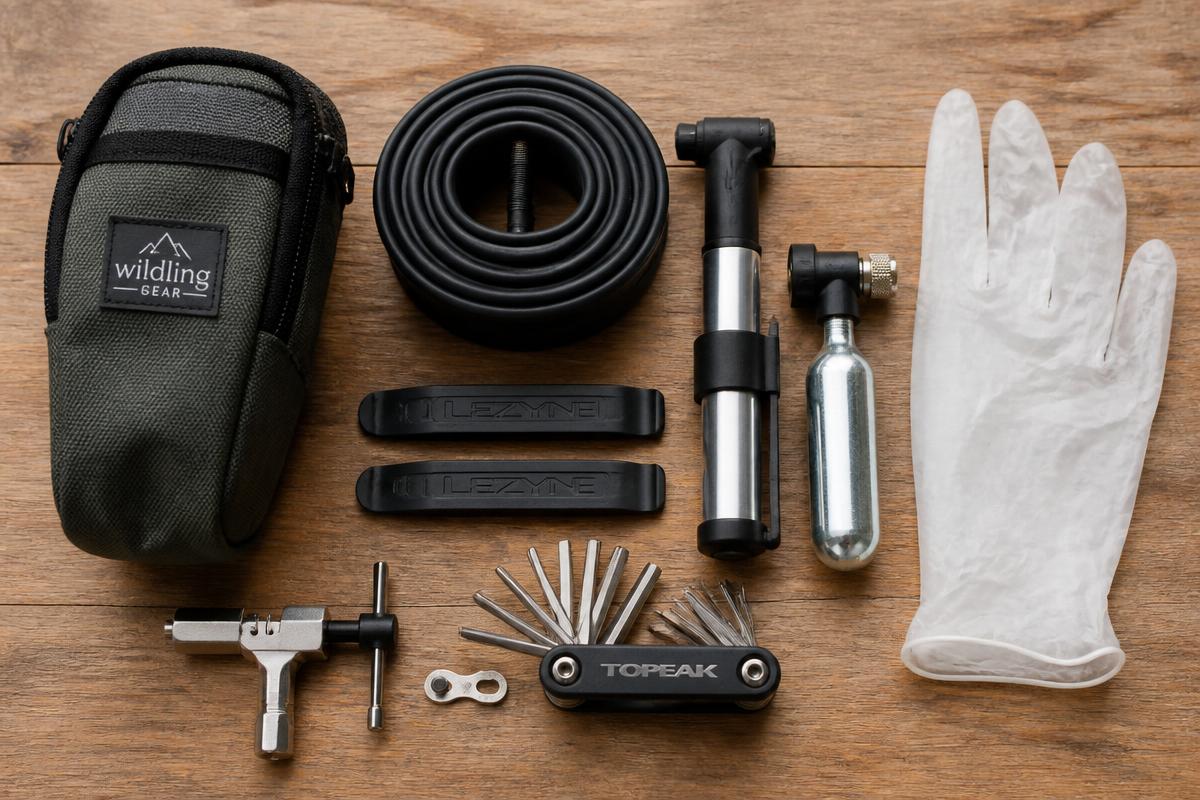
Carry at least one spare inner tube, tyre levers and either a small pump, CO₂ inflator or an electric pump. Even if you use tubeless tyres, you should still understand the basics of dealing with a flat.
Clinchers, tubes and sizing
People often refer to tyres with inner tubes as “clinchers”. The alternative is “tubeless”. To tell which you have, look at the valve: tubeless valves are fixed directly into the rim, whereas an inner-tube valve is attached to the tube inside the tyre and can be wobbled slightly.
Inner tubes bought online in multipacks (butyl rubber) keep the cost down. More expensive types such as latex or TPU give marginal gains and are harder to fit. The required size matches your wheel and tyre sizing, which is printed on the side of the tyre, such as 700 × 23c or 700 × 28c — the 700 is the wheel size and the 23 or 28 is the width of the tyre.
Tubeless tyres
Tubeless tyres do not use an inner tube and instead rely on liquid sealant to automatically seal many small punctures while you ride. Be aware that tubeless sealant dries out over time, especially if the bike is not used regularly. Check it every 2–3 months and before an important race. If little or no liquid remains, top it up and make sure the tyre still holds pressure.
For a puncture in a tubeless tyre, first give the sealant time to plug a small puncture. If it does not seal, use a tubeless plug to fill the hole and reinflate the tyre. If the damage is too large to plug or the tyre will not hold air, fit a spare inner tube as an emergency repair so you can finish the ride.
Tubular tyres
You may see mention of tubular tyres, which are a specialist type where the inner tube is sewn inside the tyre and the whole tyre is glued or taped onto a special tubular wheel rim. They are not relevant for most beginner triathletes, so we will leave them for another day.
Dealing with a dropped chain
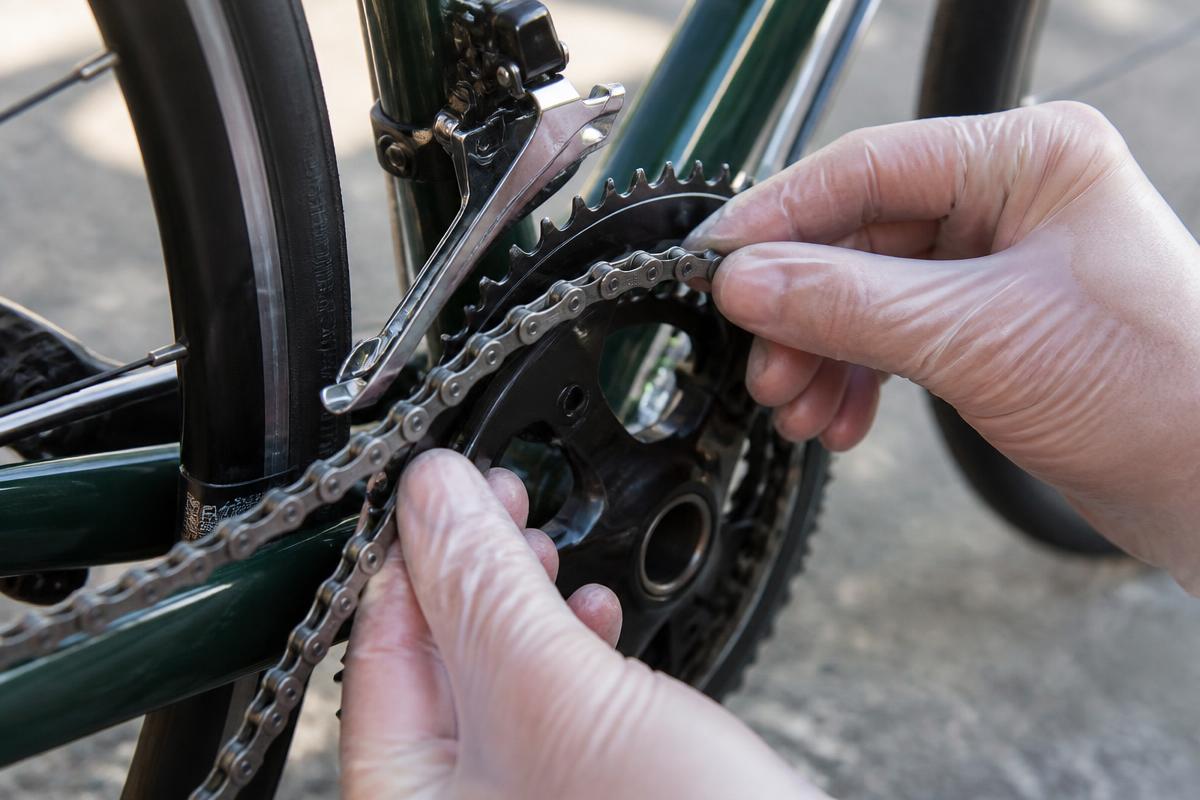
A dropped chain is another common problem. If the chain comes off the front chainring, stop pedalling — the chain can get stuck between the chainring and the frame. Stop somewhere safe, then carefully lift the chain back onto the chainring (top first) while slowly turning the pedals by hand.
It can be messy, so carrying a small disposable glove or wipe in your saddle bag is useful.
You do not need to be a mechanic
You do not need to become a bike mechanic, but you should know how to deal with the simple problems most likely to stop your ride. A few basic skills, a small repair kit and a five-minute pre-race bike check can save your ride and give you much more confidence.
Pre-race bike check
Before every race, check that everything attached to your bike is fixed securely. Bottles, bottle cages, saddle bags, pumps, nutrition boxes, lights, computers and any other equipment should not be loose or able to move around. A badly secured bottle or bag can affect handling, rub against the wheel, fall into the road or become dangerous to you and other athletes.
Do a quick check the day before the race: tyres inflated, nothing stuck in the tyre to cause a puncture, brakes working, gears changing smoothly and all bolts and accessories secure.
Your bike will be checked when you take it into transition, and if it is unsafe — for example, brakes that are not effective — your day could come to a complete stop. Bar-end plugs are also required, so make sure these are in place or you may not be permitted into transition.
Pre-race safety checklist
- ✓Tyres inflated to the right pressure
- ✓Nothing stuck in the tyre that could cause a puncture
- ✓Brakes working effectively
- ✓Gears changing smoothly
- ✓All bolts and accessories tight and secure
- ✓Bar-end plugs in place
Compact roadside repair checklist
- ✓Spare inner tube or tubeless repair plugs (ideally both)
- ✓Tyre levers
- ✓Mini pump, CO₂ inflator or small electric pump
- ✓Small multi-tool (if you will actually use it)
- ✓Disposable glove or hand wipe
- ✓Quick-link and tool for your chain
- ✓Small amount of cash or bank card (for training, not racing)
- ✓Phone in a waterproof pouch (for training, not racing)
- ✓Check bottles, bags and accessories are secure
- ✓Know how to remove both wheels and refit the chain
The key takeaway
Most importantly, practise these repairs before race day. The first time you remove a rear wheel should not be when you are standing at the side of the road under pressure.
Keep exploring
Find more cycling advice in the Cycling section, including Pacing the Bike Leg and Do You Need a Triathlon Bike to Start?.