
Transition Layout Planner
Map out your transition area so race morning feels calm and organised.
Make transition your personal workstation
Transition can look confusing. There may be hundreds of bikes, athletes carrying equipment and announcements being made while you are trying to remember where everything goes. The solution is simple: decide your transition layout before race day and practise it at home.
Think of transition as your personal workstation. You want the equipment you need, in the order you need it, without unnecessary clutter.
Start with T1 — swim to bike
When you arrive from the swim, your first job is to get ready to cycle. Depending on the event, your wetsuit, goggles and swim hat may need to go into a designated box or bag.
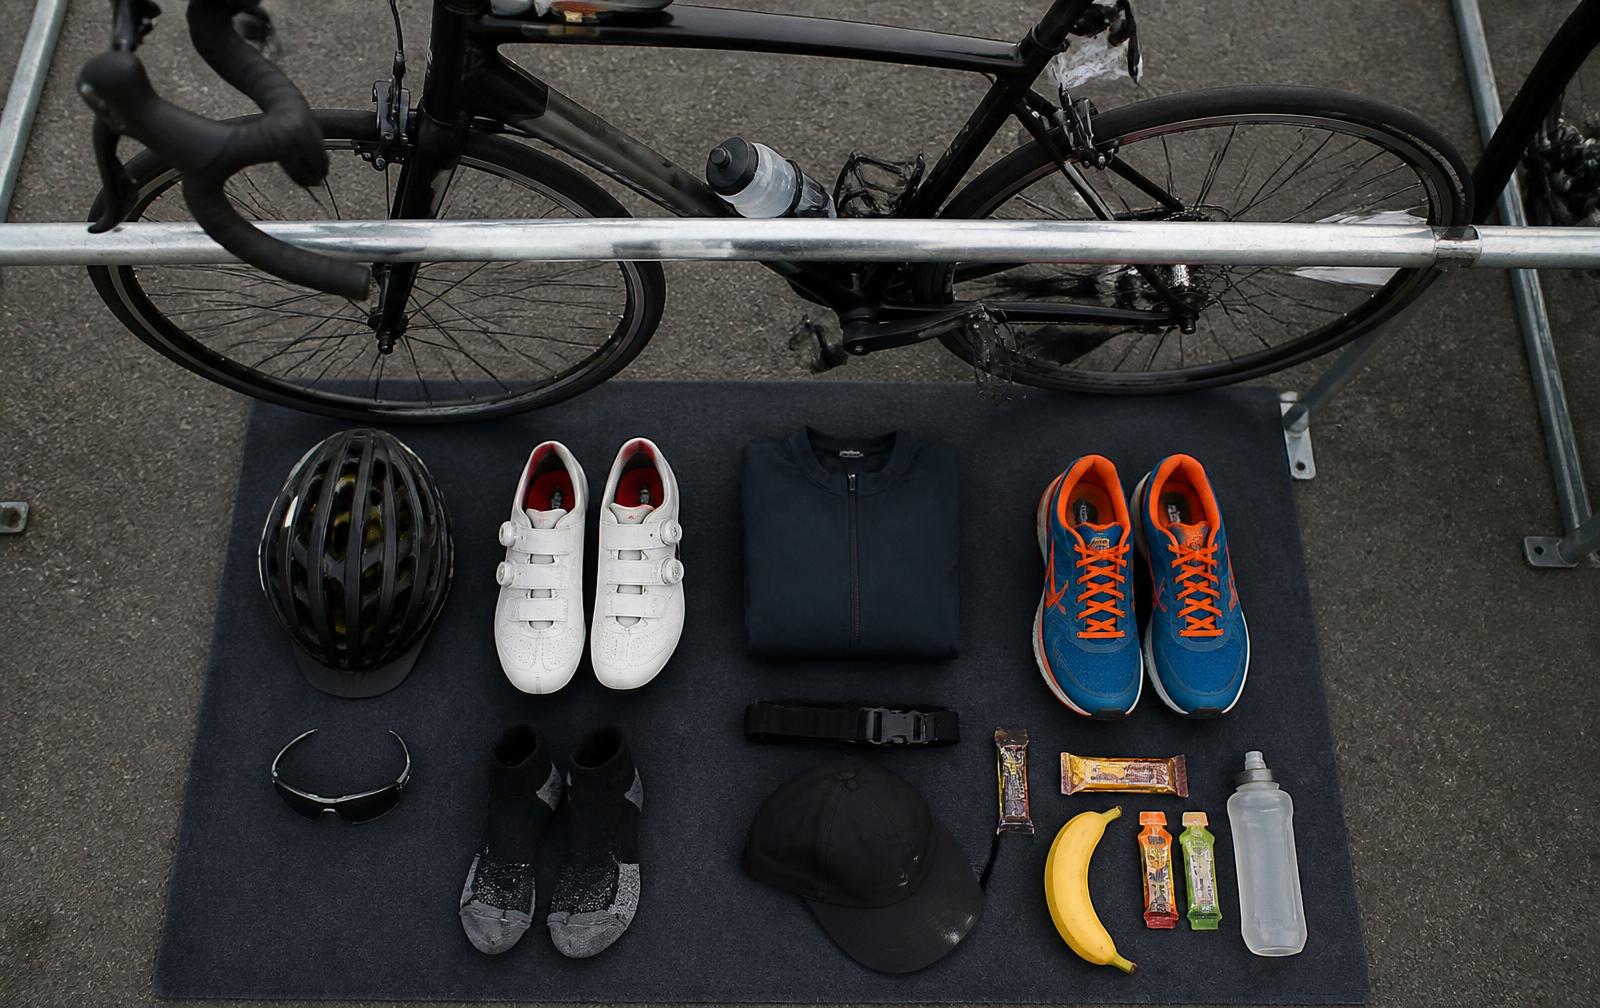
Your bike equipment should be ready: helmet, race number unless it is already on, sunglasses if required, cycling shoes and socks if you are wearing them on the bike. Secure all drink and nutrition to the bike beforehand — you really do not want to be stuffing things into pockets.
The goal is to come in, leave your swim kit, put on your helmet and shoes, grab your bike and go, with very little need to think.
Your helmet should be easy to reach. Race rules normally require it to be securely fastened before you take your bike from the rack.
Then plan T2 — bike to run
After correctly racking your bike, remove your helmet and change into your running shoes and socks if you did not wear them on the bike. Spin your race-number belt to the front. Position your hat or visor and any run nutrition where you can find them quickly, or use a waist bag with nutrition already inside.
Again, try to remove unnecessary thinking and fiddling with small packets. Transition is not the place for everything you might possibly need. Too much equipment creates clutter and makes it easier to lose something.
Transition Layout Planner
Choose what you need, add anything personal and put each step in the order you will use it.
Race-morning plan
My transition layout
To save a copy, choose “Save as PDF” as the destination in the print window.
T1 — Swim to Bike
- 1Wetsuit, goggles and swim hat into the designated place
- 2Sunglasses on
- 3Helmet on and securely fastened
- 4Cycling shoes on
- 5Take bike from rack and head to Bike Out
- 6Mount only after crossing the mount line
T2 — Bike to Run
- 1Dismount before the dismount line
- 2Rack the bike correctly
- 3Unfasten and remove helmet after racking
- 4Change into running shoes
- 5Spin race-number belt to the front
- 6Head towards Run Out
Keep it simple: know what you need, where it is and what you are doing next.
Practise your setup at home
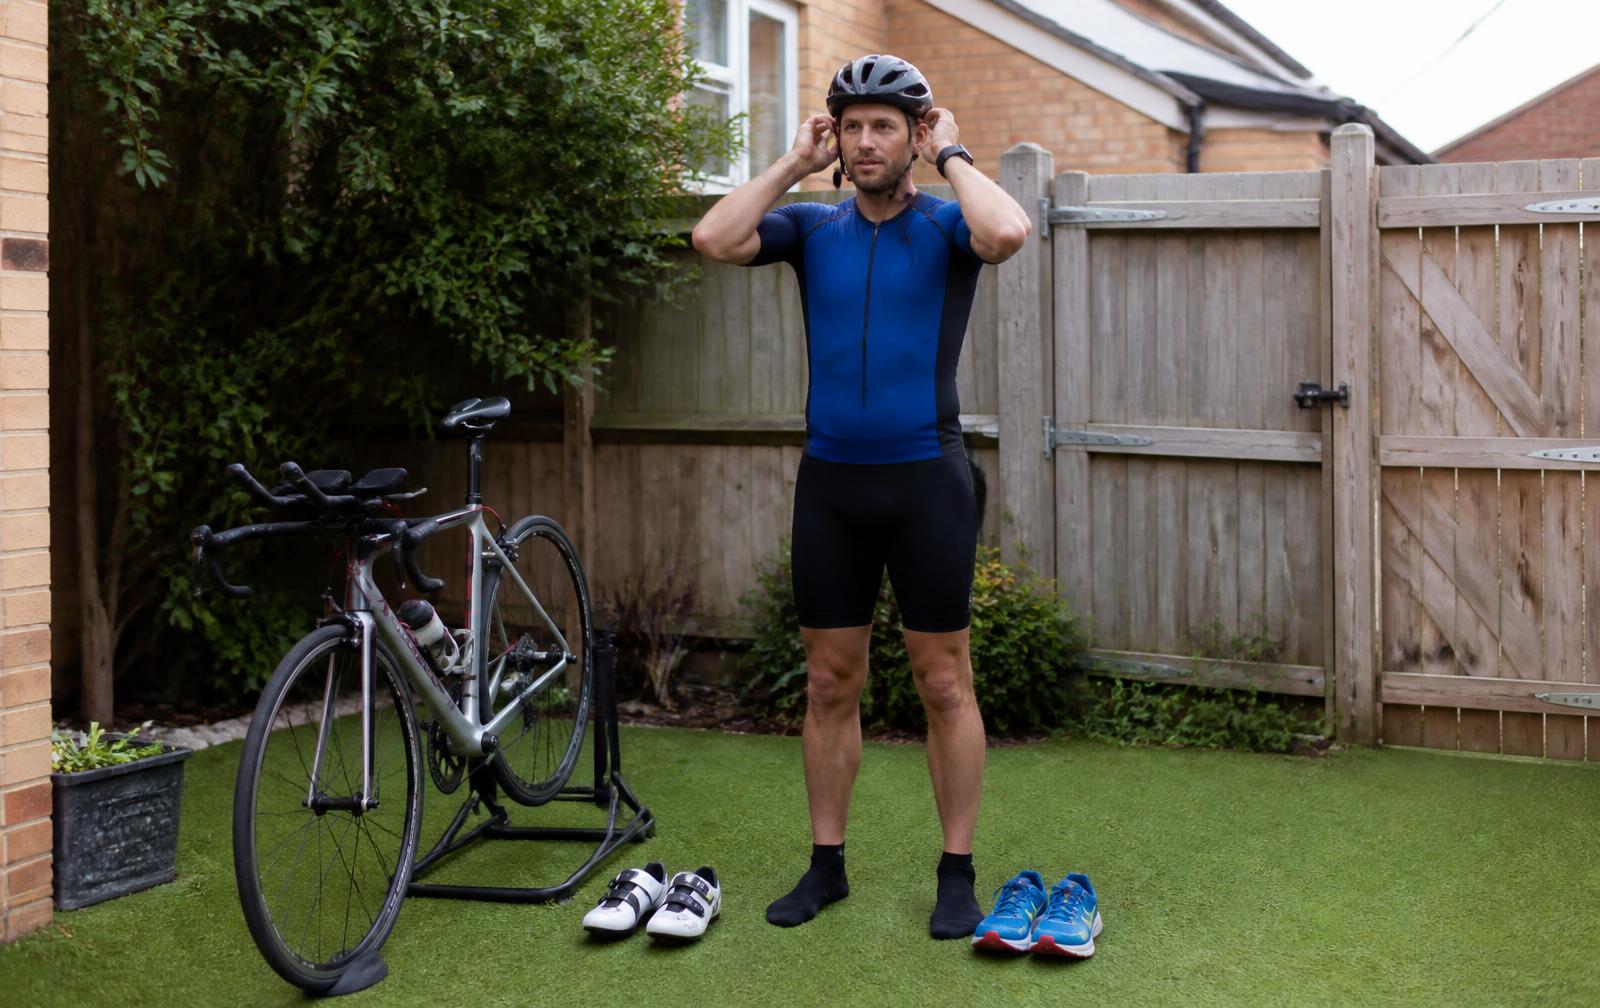
Put your bike against a wall or use a suitable stand, lay out your equipment and rehearse the sequence: swim equipment off, helmet on, bike shoes on, then later bike equipment off and running shoes on.
You do not need to rush. Smooth and organised usually becomes fast naturally.
Read the athlete information
Some events use one transition area, while others have separate T1 and T2 locations or require equipment to be placed into numbered bags. Transition also opens and closes at specified times, so know when you must arrive and when access closes for your race start.
Learn where your bike is
Look for permanent landmarks such as trees, buildings or numbered rows rather than relying on another athlete’s brightly coloured towel, which may disappear before you return.
Walk through transition several times: from Swim In to your bike, from your bike to Bike Out, from Bike In back to your slot, and from your bike to Run Out. You should know where you need to go and where your bike is, limiting the need to think. People can panic when they believe they have “lost” their bike or run towards the wrong exit.
The goal is not the fastest-looking transition. It is knowing exactly what you need, where it is and what you are doing next.
T1 — Swim to Bike
As you leave the water, stay controlled. Remove your goggles and swim hat and start taking off your wetsuit if you are wearing one. At your bike:
- 1.Remove your wetsuit completely.
- 2.Put it and your swim equipment in the designated place.
- 3.Put on sunglasses if required.
- 4.Put your helmet on and fasten it securely.
- 5.Put on your cycling shoes if you are not planning to put them on after mounting.
- 6.Take your bike from the rack.
- 7.Walk or run with your bike towards Bike Out.
- 8.Do not mount until you have crossed the mount line.
There is very little advantage for a beginner in attempting complicated flying mounts or having shoes already attached to the bike. Keep things simple.
T2 — Bike to Run
As you approach transition, reduce your speed and prepare to dismount:
- 1.Get off your bike before the dismount line.
- 2.Push your bike to your allocated position.
- 3.Rack the bike correctly.
- 4.Only then unfasten and remove your helmet.
- 5.Change from cycling shoes into running shoes if necessary.
- 6.Put on your race-number belt.
- 7.Take your hat, nutrition or other required equipment.
- 8.Head towards Run Out.
Keep exploring
Learn more in the Race Day Transitions guide, or browse the rest of the Free Tools.